1
Pick a template
Choose a design you love from our diverse library
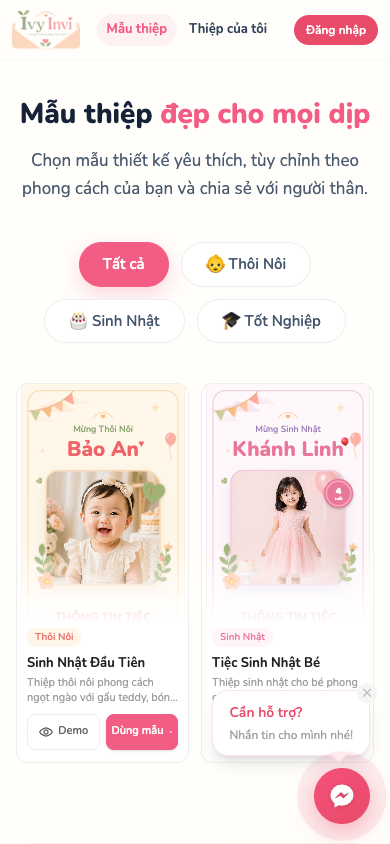

Choose a design you love from our diverse library
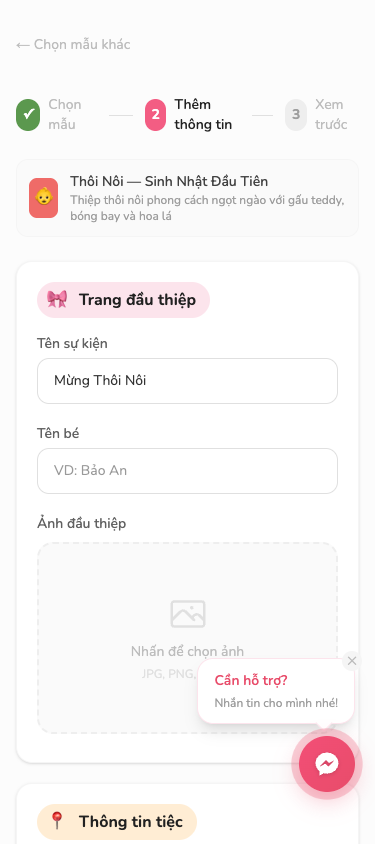
Fill in the details, add photos and messages, and customize it your way
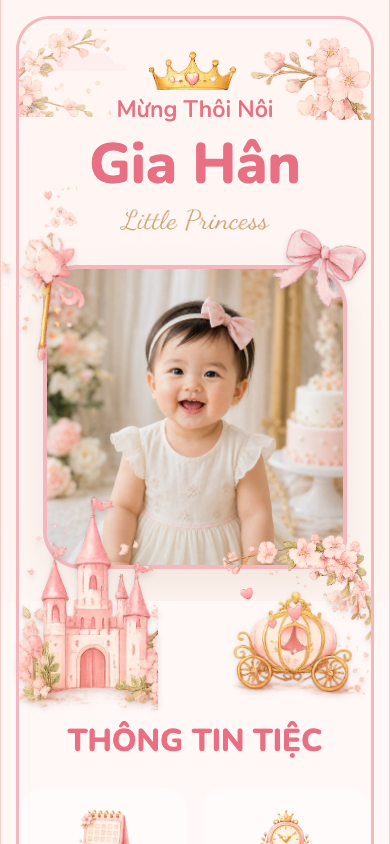
See the finished invitation before publishing. Go back and edit until it's just right
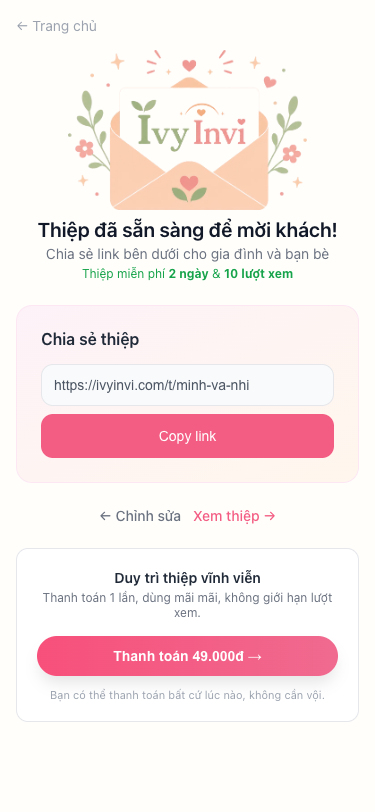
Get your link instantly and share it with family and friends
Enter a greeting and each guest's name to create a unique link for every guest
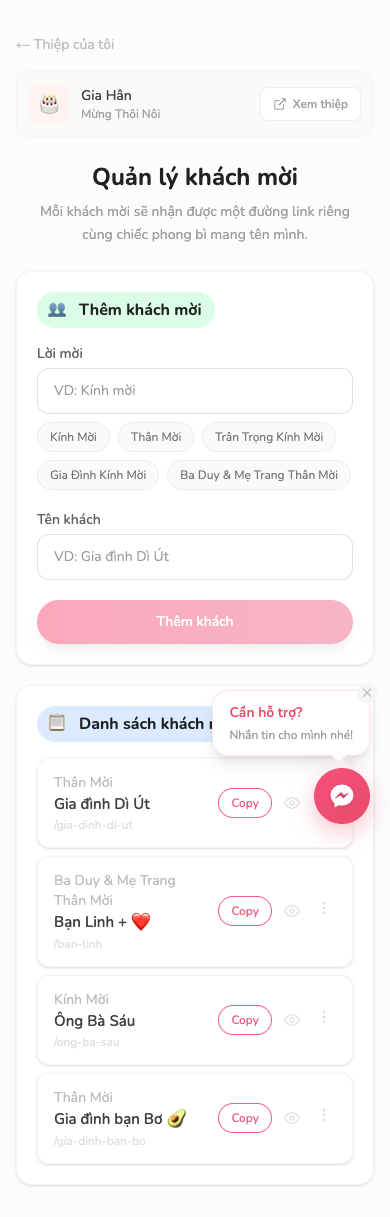
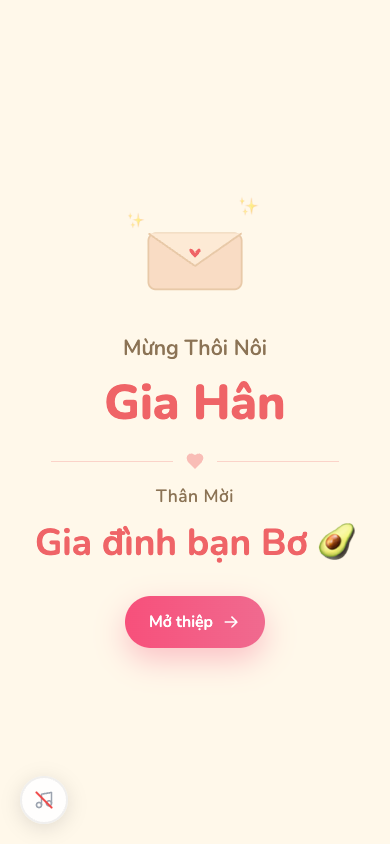
Send each guest their link. Every guest receives an invitation with their own name on the envelope
Step-by-step to a beautiful invitation
Go to the Templates page, browse the demos and pick the one you like.
Enter the event name, date, venue, message and more, and upload photos. You can turn on background music.
See the finished card before publishing. You can go back and edit if it's not just right.
Publish to get a share link. Send it to invite family and friends via Messenger, Zalo, Facebook and more.
Enter a greeting and each guest's name to create their own link. Every guest receives a card with their name on the envelope.
Choose a sharp portrait photo; a square or 4:5 ratio looks best.
Paste a YouTube link for music. Leave it empty to use the default.
Your details are saved automatically on your device. Sign in to sync everywhere.
Cards are optimized for phones — the most common way people view invitations.